
This post contains some affiliate links for your convenience. Click here to read my full disclosure policy.
When I received my first curling wand, I found myself searching high and low for curling wand tips. My first couple of attempts at using one were not very successful. After a few tips and some practice runs, I had it down and I now love how my hair turns out!
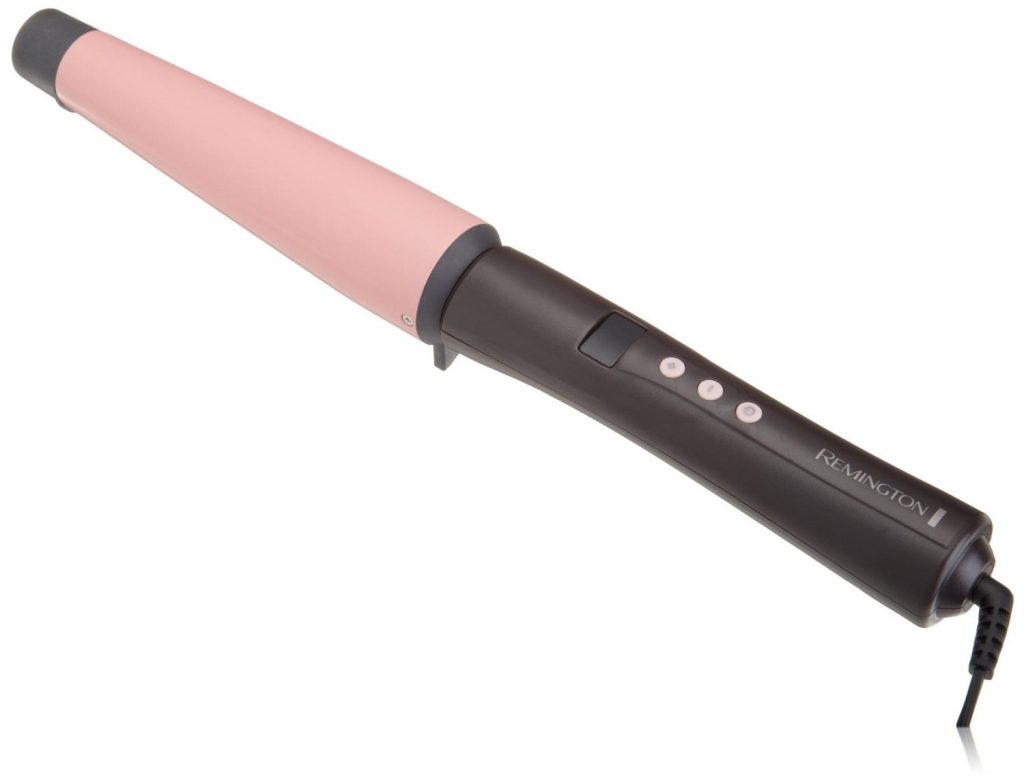
Now, about those curling wand tips…here’s what I’ve learned works best for me to get the kind of curl I’m looking for and curls that lasts a couple of days.
5 Curling Wand Tips
Start by using a heat protectant spray
In order to get a good curl and to make sure you’re not destroying your hair with high heat, you need to protect it. The day I use my curling wand, I wash my hair, put in a heat protectant spray, blow dry it completely, add Argan Oil (more on that in a minute) and then curl. It’s important to make sure you dry your hair completely, as this closes the cuticle and helps your curl last longer. Using a heat protectant spray gives your hair the foundation it needs for healthy, long lasting curls.
A few heat protectant sprays under $20 I recommend are:
- CHI 44 Iron Guard Thermal Protection Spray
- InstaNatural Thermal Protector Hair Spray
- TRESemme Thermal Creations Heat Tamer Protective Spray
- HSI PROFESSIONAL Thermal Protector 450
- Nexxus Promend Heat Protecting Mist (my favorite)
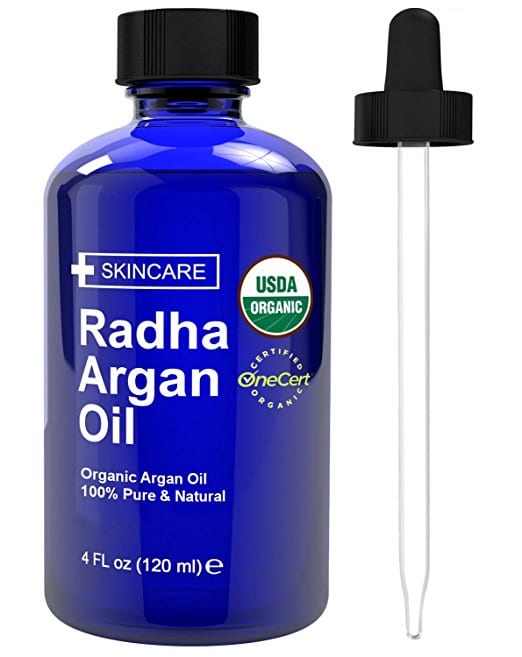
Apply a high quality Argan Oil
When I first heard about Argan Oil, I was very intrigued with its benefits. After using it for a couple of years, I am convinced it’s one of the reasons my hair has stayed so healthy. I apply it every day, both on the days I style my hair and in between stylings.
Section off hair
I have pretty thin hair, but I still section it off to curl. Sectioning it off and curling the bottom layer and then the top layer, helps gives my hair volume and keeps me from trying to curl too much hair at once. Since I’ve starting sectioning my hair to curl, I’ve noticed my curl lasts longer. I can go three days in between washings and by day three, my hair still has a nice wave to it.
I use alligator clips and section off the top half, while curling the bottom half. My hair is thin enough that I only have to use one. When I’m done with the bottom, I let down the top half and curl it. Easy peasy.
Point the curling wand down
When I first started using a curling wand instead of my trusty curling iron, I tried using it the same way I’ve always curled my hair. My hair never turned out quite like I wanted it to, so I did a little research to better my curling skills. And guess what? Come to find out I was pointing the wand the wrong way for the style of curls I wanted. Who knew?! So now I point the wand down and wrap the section of hair away from my face and around the wand. Also, I always wear a glove because I don’t trust myself not to burn my hand or fingers.
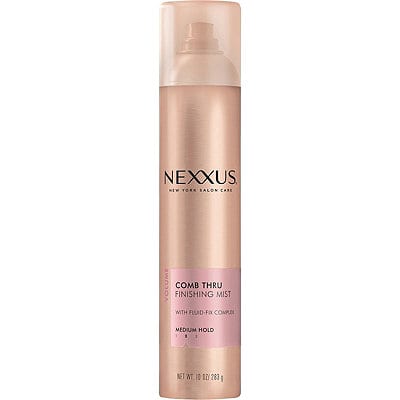
Set style with a finishing spray
If you want a tighter curl or if your hair doesn’t hold curl very easily, let your curls cool before touching them and then set with a finishing spray. Allowing the curls to cool also helps to prevent frizz. If I want a tighter curl, I’ll allow all of my curls to cool, then gently run my fingers through my hair and set with a finishing spray. If I want a smoother wave, I’ll lightly run a brush through my hair and set.
Here are a few I recommend:
- Nexxus Finishing Mist Hairspray
- It’s a 10 Miracle Super Hold Finishing Hair Spray Plus Keratin
- Biosilk Finishing Spray Firm Hold
- White Sands Infinity Firm Finish Hair Spray
I hope you enjoyed these curling wand tips!
